¶ BMCU Bracket Mounting
¶ Bracket Models
The hole spacing is different between the 130 and 370 versions of the bracket, so please be aware of this. If you are looking for a third party bracket, please check the version and hole spacing.
¶ 130 version :
¶ Original version bracket from author :
¶ Third Party Brackets :
For A1:
- https://makerworld.com.cn/zh/models/865431#profileId-856180
- https://makerworld.com.cn/zh/models/732933?from=search#profileId-726416
For A1 mini:
For dry box:
¶ 370 version :
¶ Installation
¶ 130/180 - A1
- Prepare 2 m3*10 screws, 2 m3 nuts, bracket for A1 and uninstall the cable cover
You can use the square nuts from the BMG gear set, in fact they fit the A1 bracket better
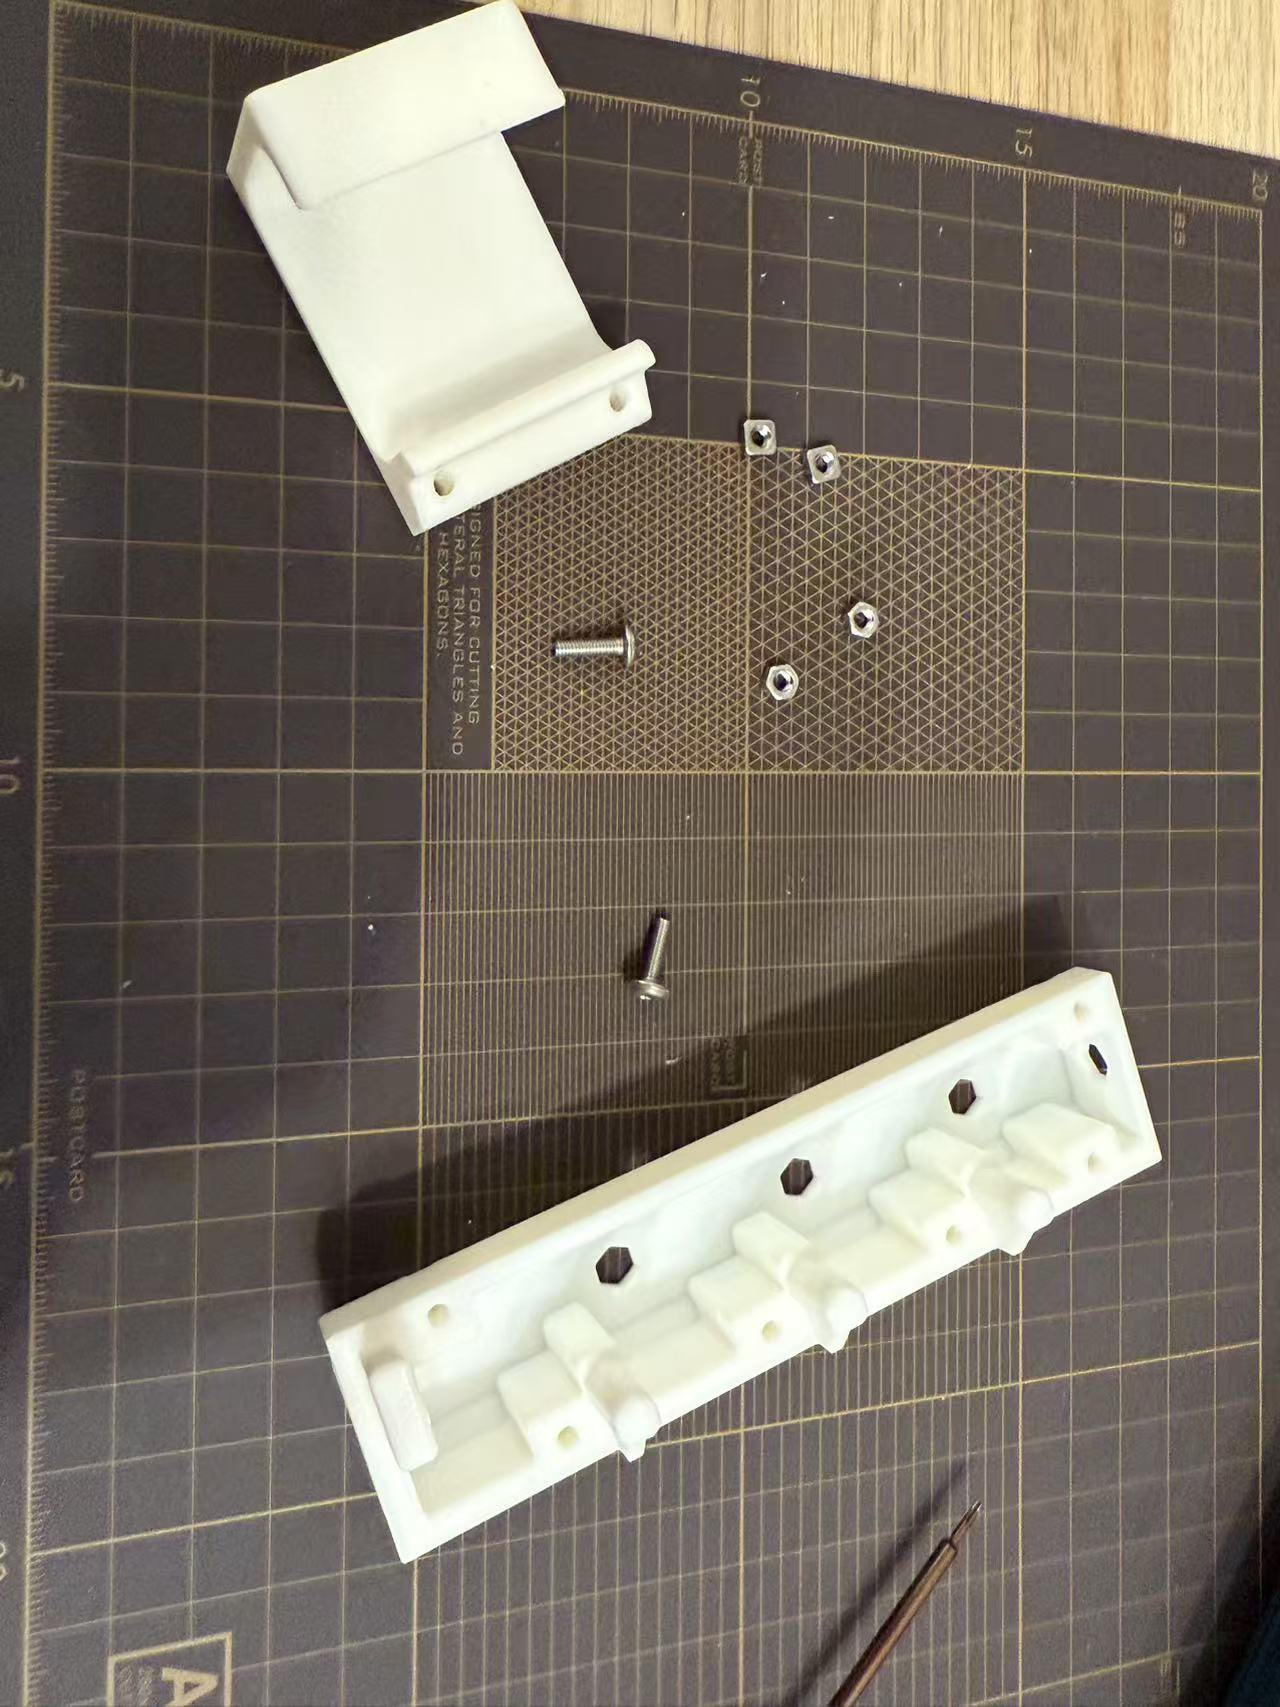
-
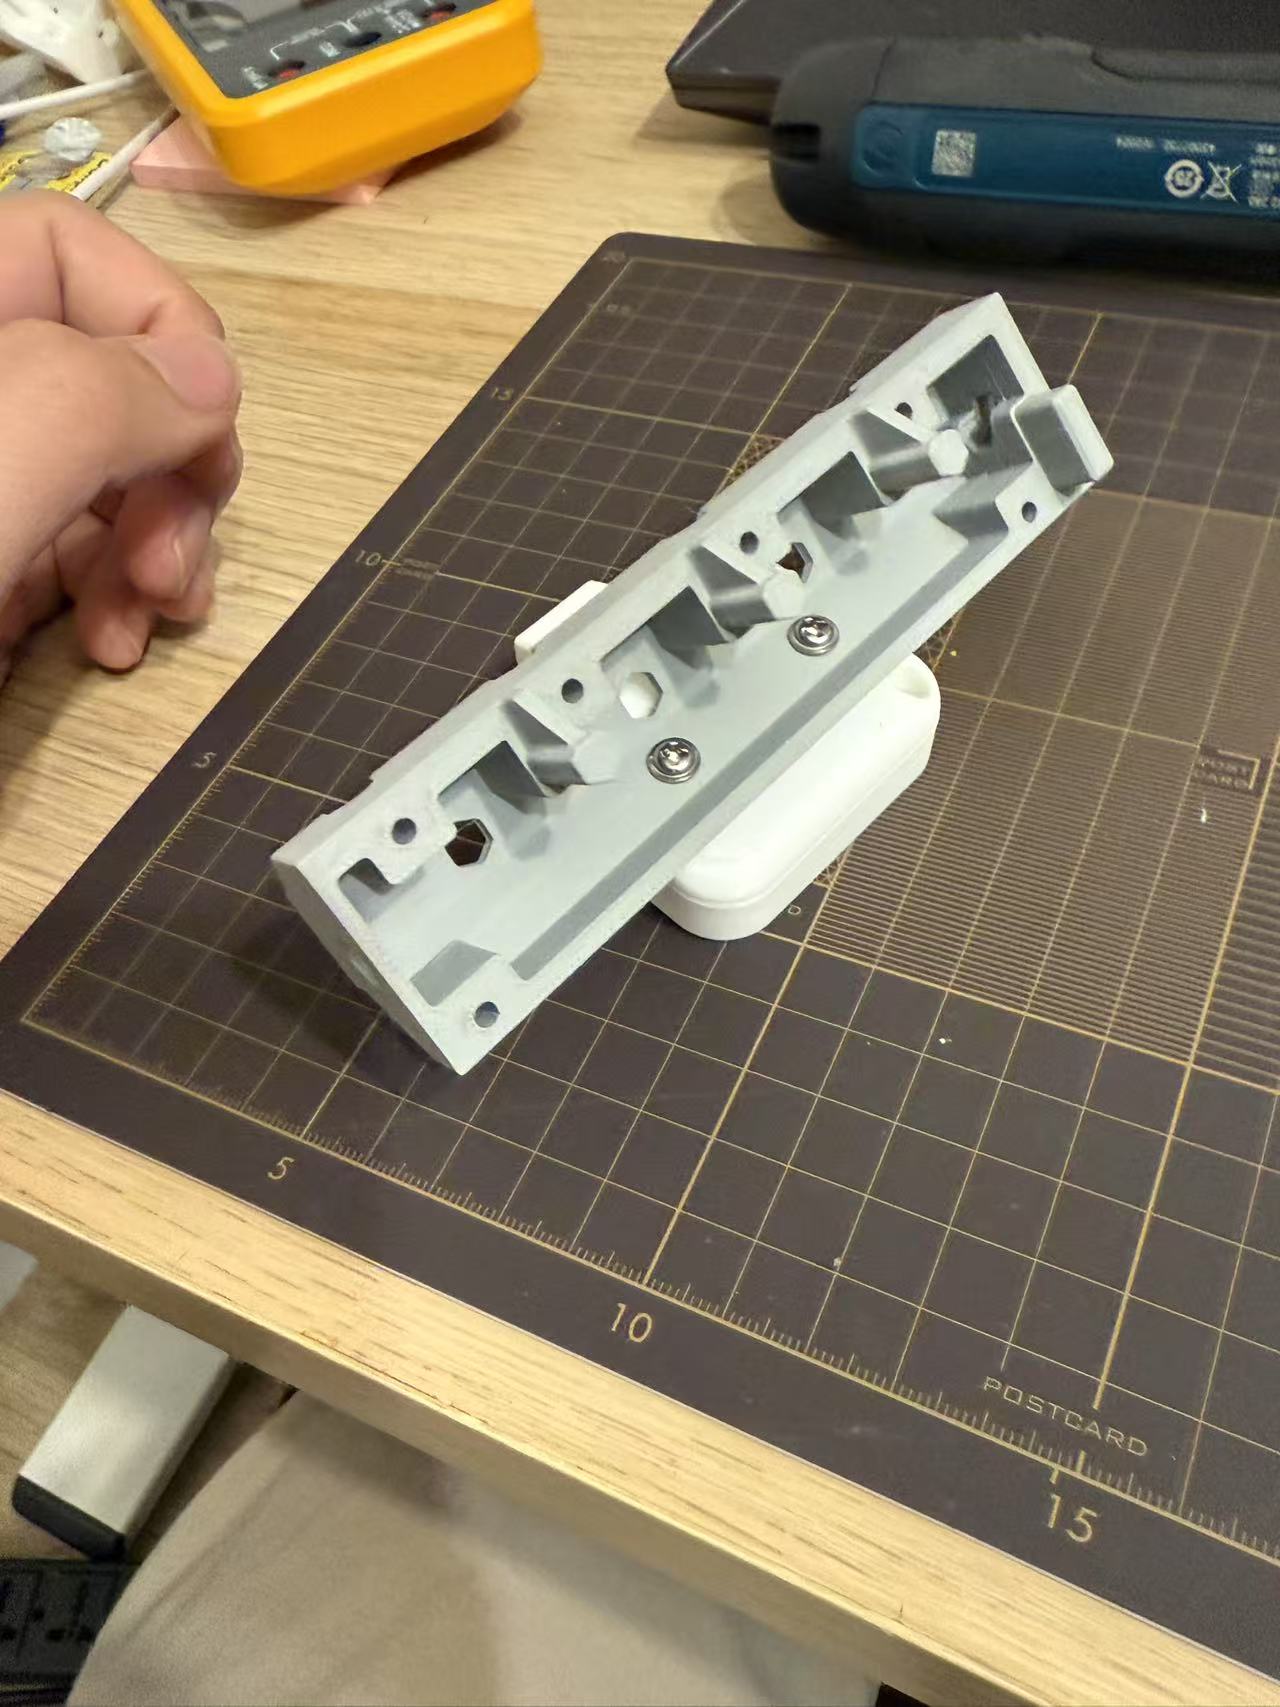
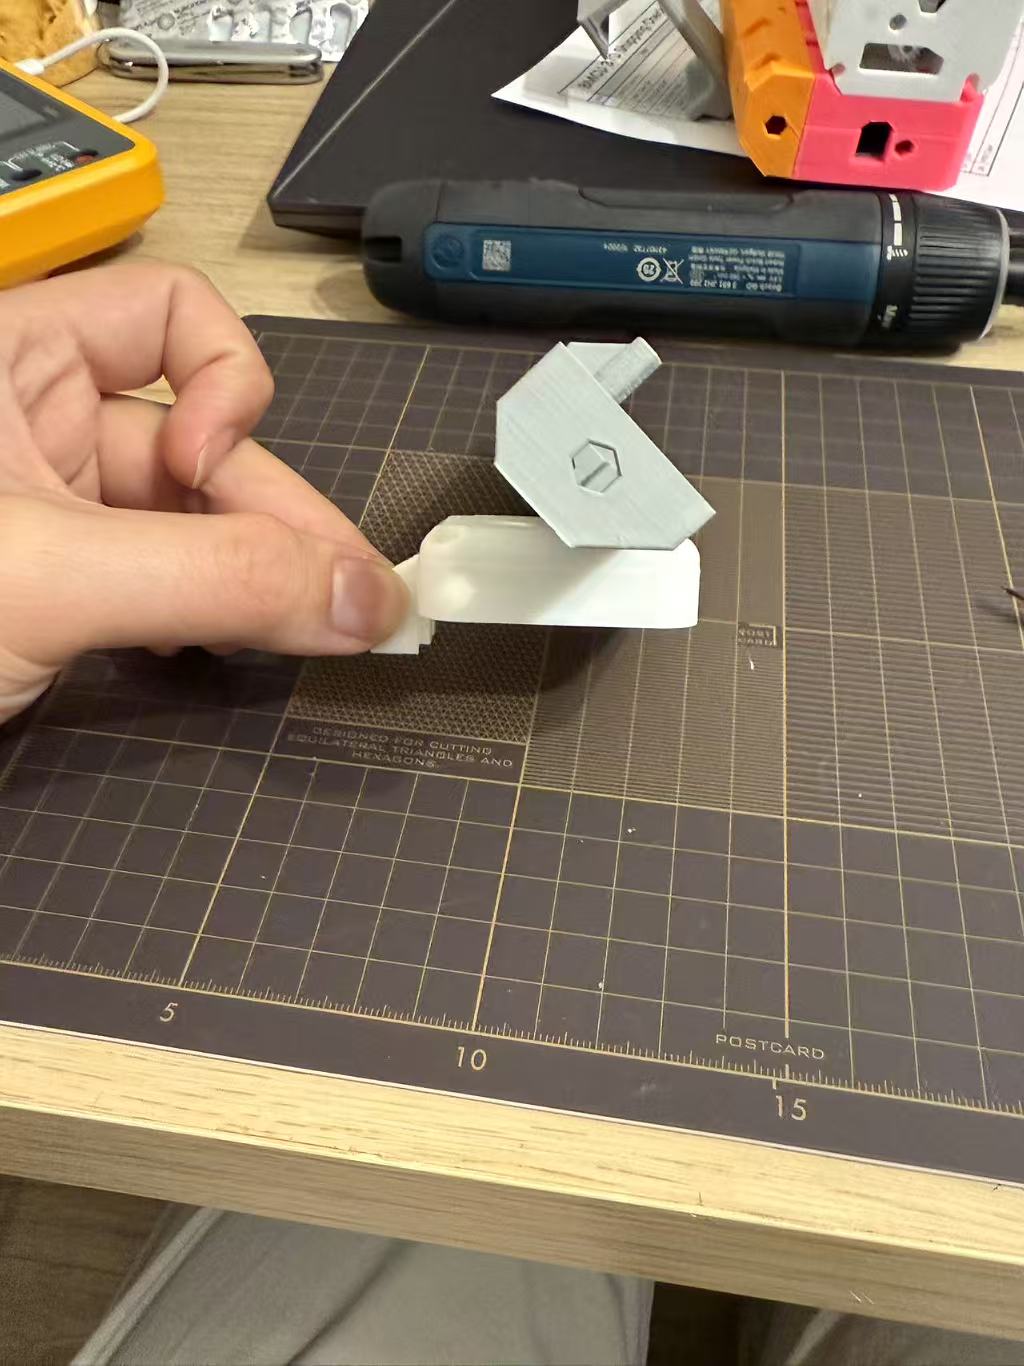
Place the nut in the hole of the bracket
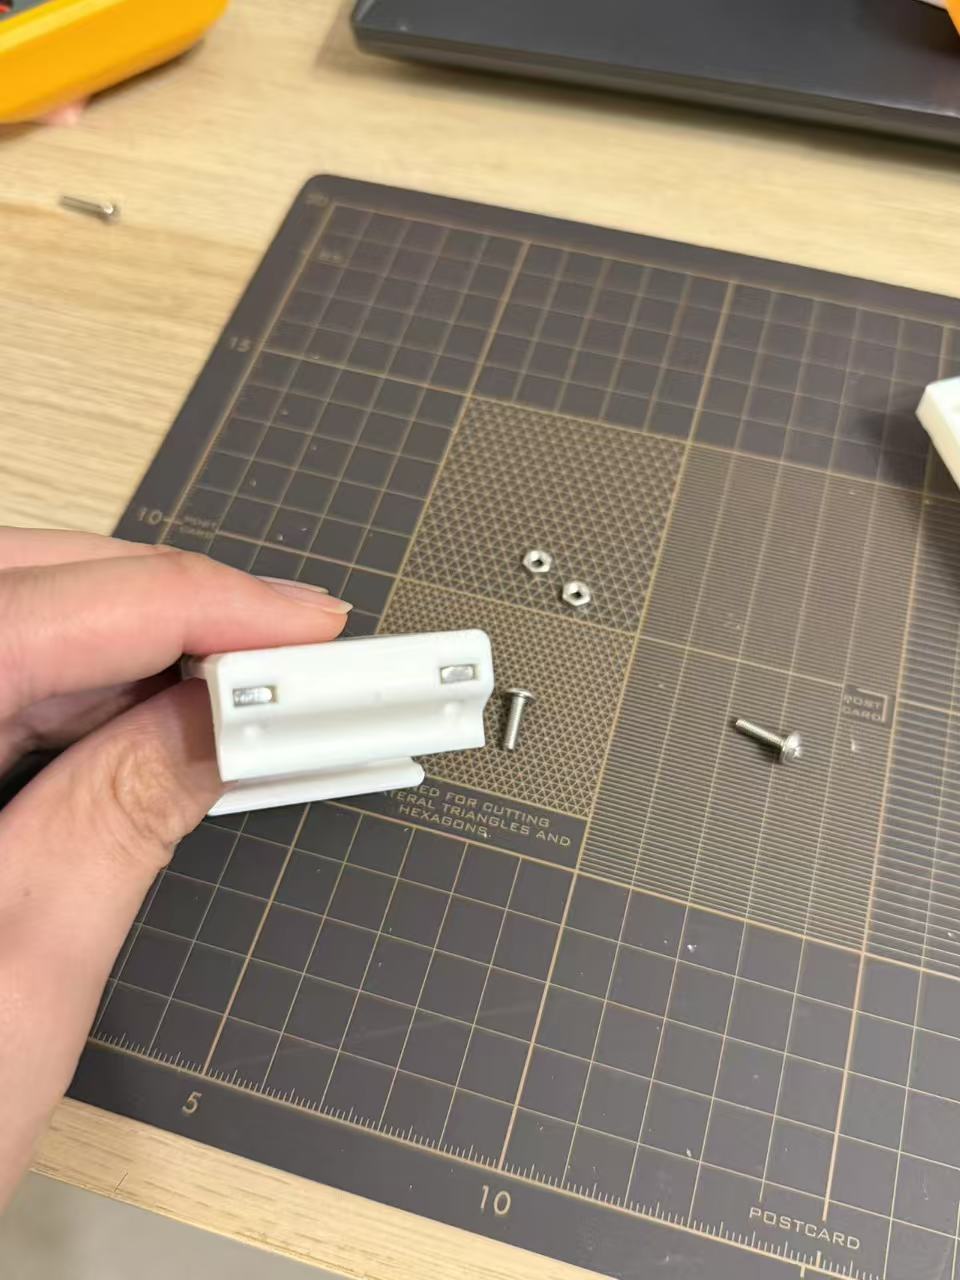
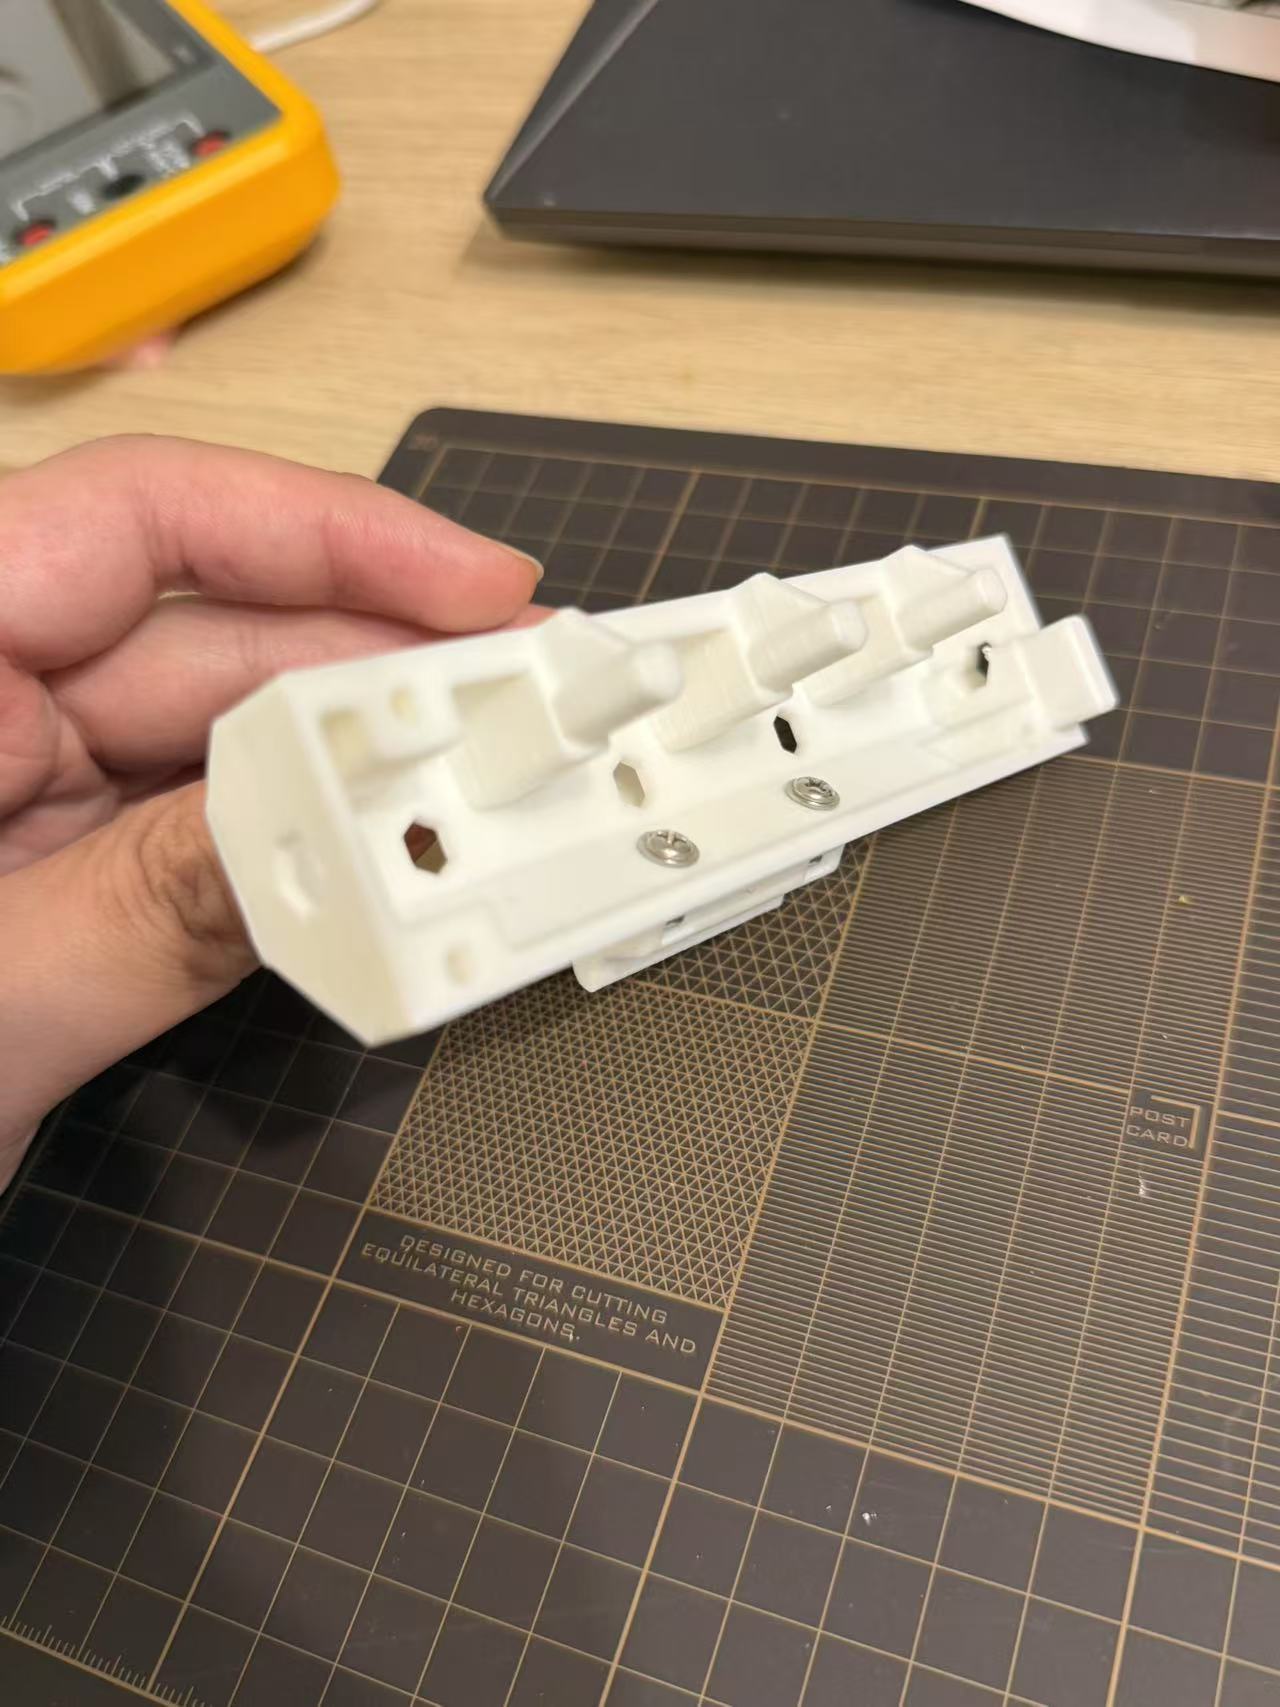
-
Secure with two m3 screws from the inside of the cable cover to the bracket. Please note the direction of installation.
¶ 130/180 - A1 mini
The original a1 mini version of the bracket isn't easy to install. There are other brackets that are easier to install for exemple :
https://makerworld.com/zh/models/1186174-bmcu-a1mini-rotary-mount?from=search#profileId-1197203
-
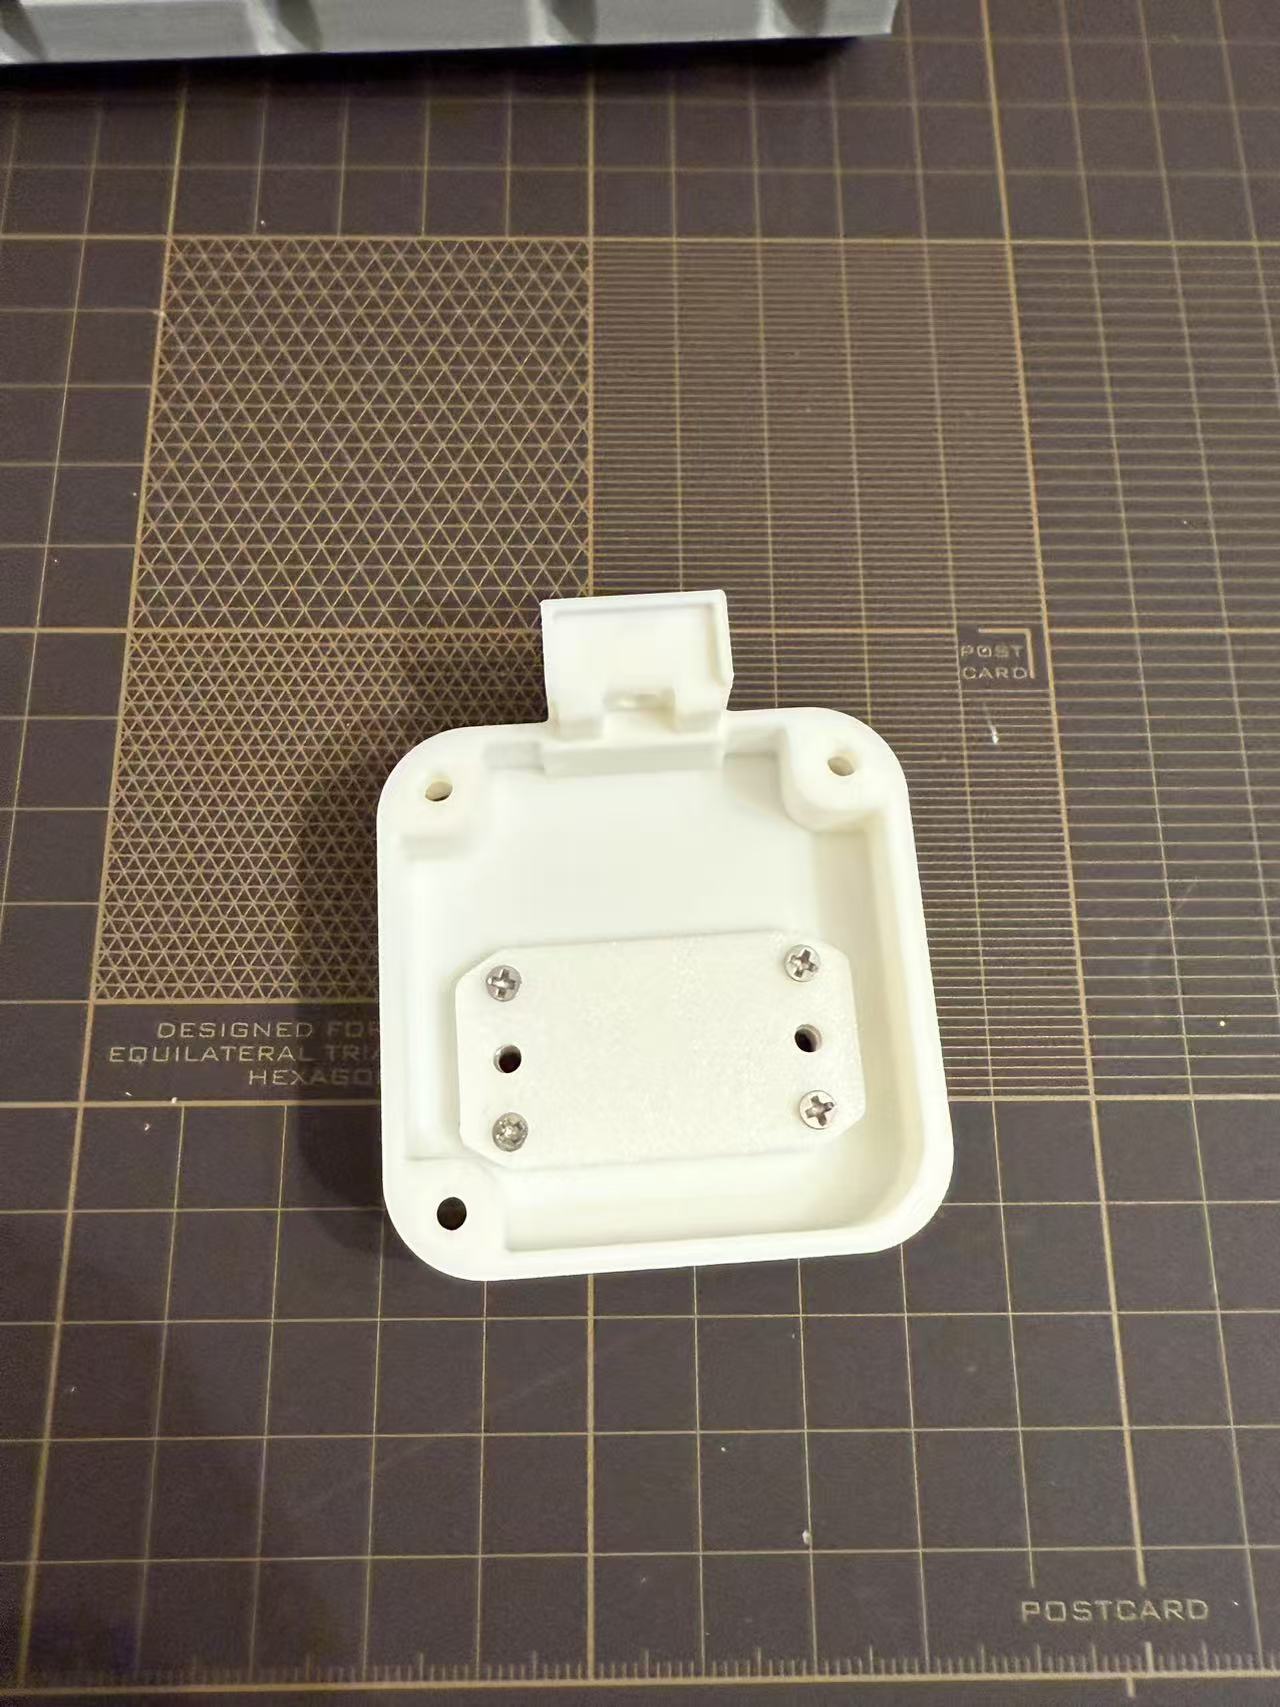
Prepare 2 m3*10 screws, 2 m3 nuts, 4 K2*8 screws bracket for A1 mini and uninstall the cable cover
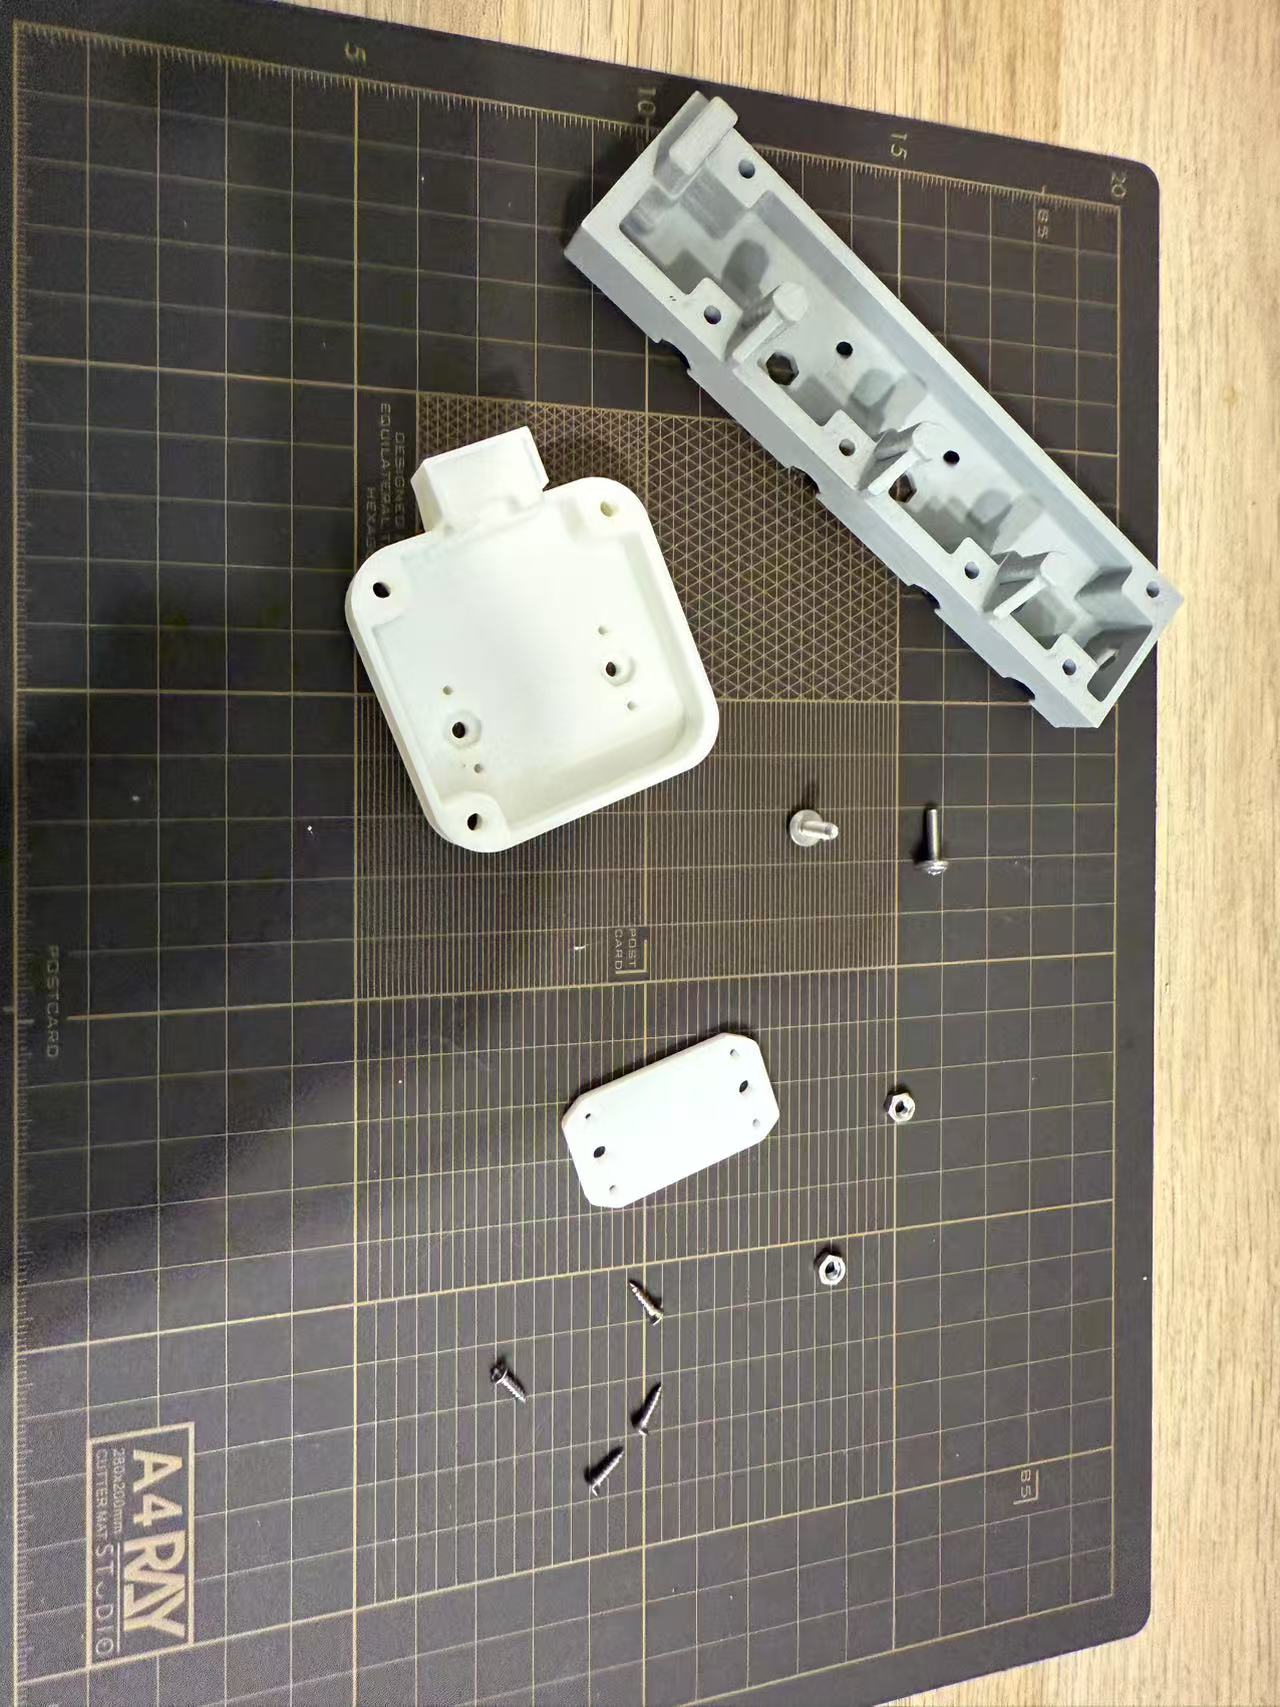
-
Place the nut in the hole of the bracket

-
Use 4 ka2*8 screws to secure the small plate to the inside of the bracket.
-
Secure with two m3 screws from the inside of the cable cover to the bracket. Please note the direction of installation.
-
Install the bracket in this state to the a1 mini printer first, and then install the remaining bmcu body
¶ 370
Use self-tapping screws M3*14 and above for fixing.